


Installation Guide
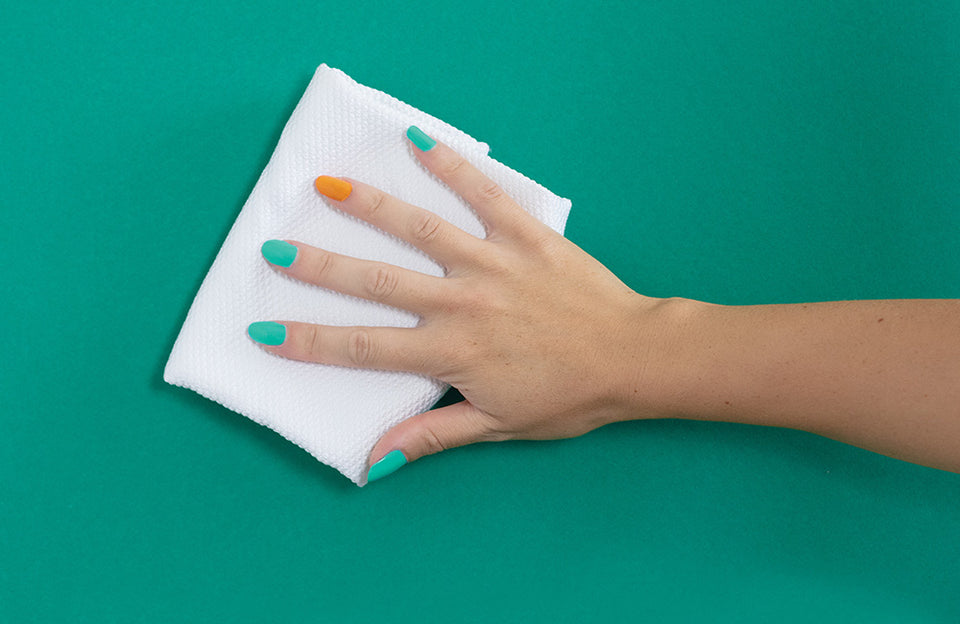
Clean: Clean the area you wish to renovate with a degreaser and let dry.
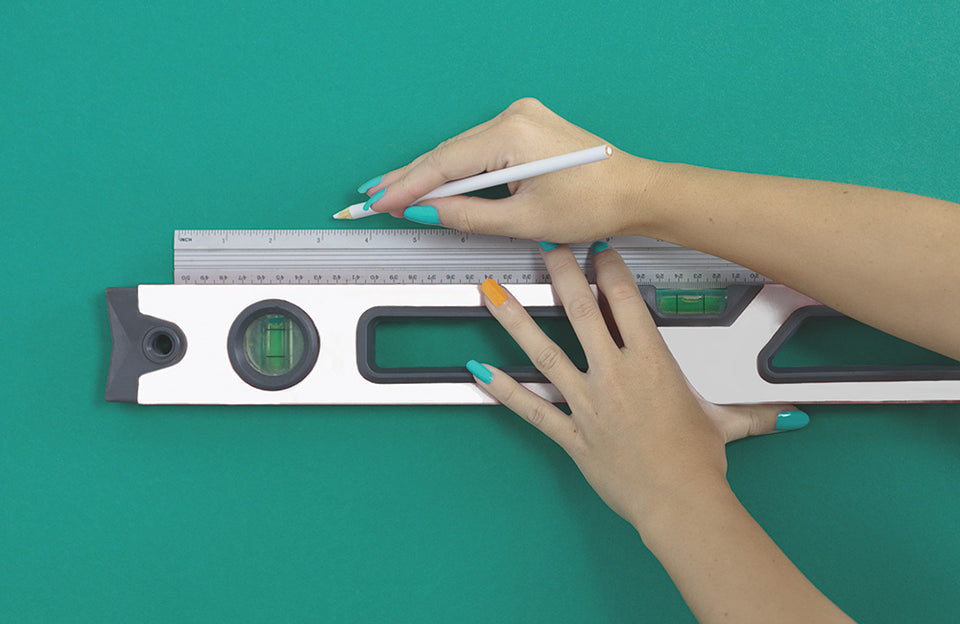
Measure: Measure the area you are tiling correctly and mark guidelines on the wall ready for installation.
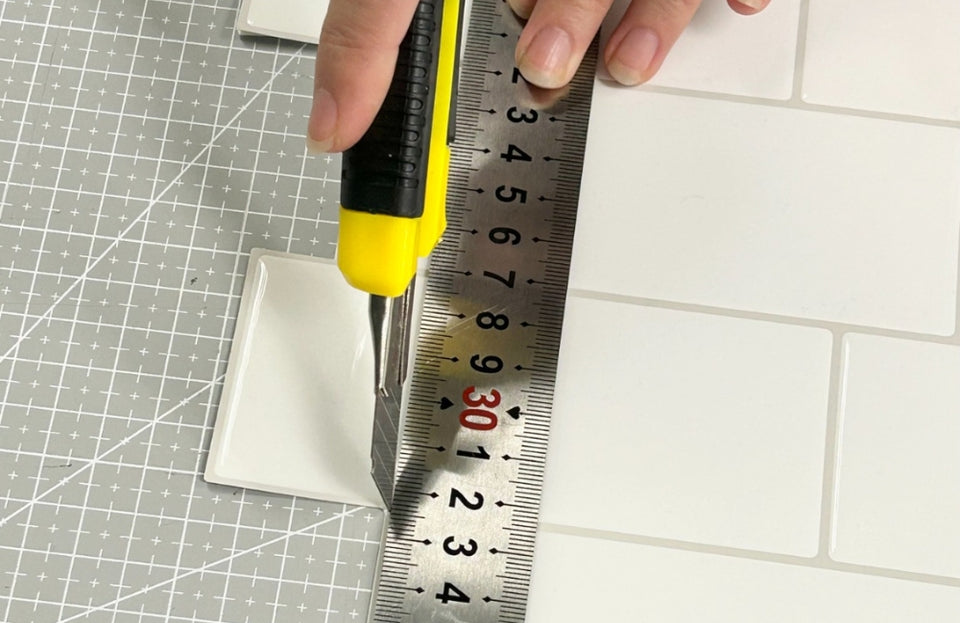
Cut: Mark the backing paper of the tiles using a ruler and pencil, then cut using a craft knife.
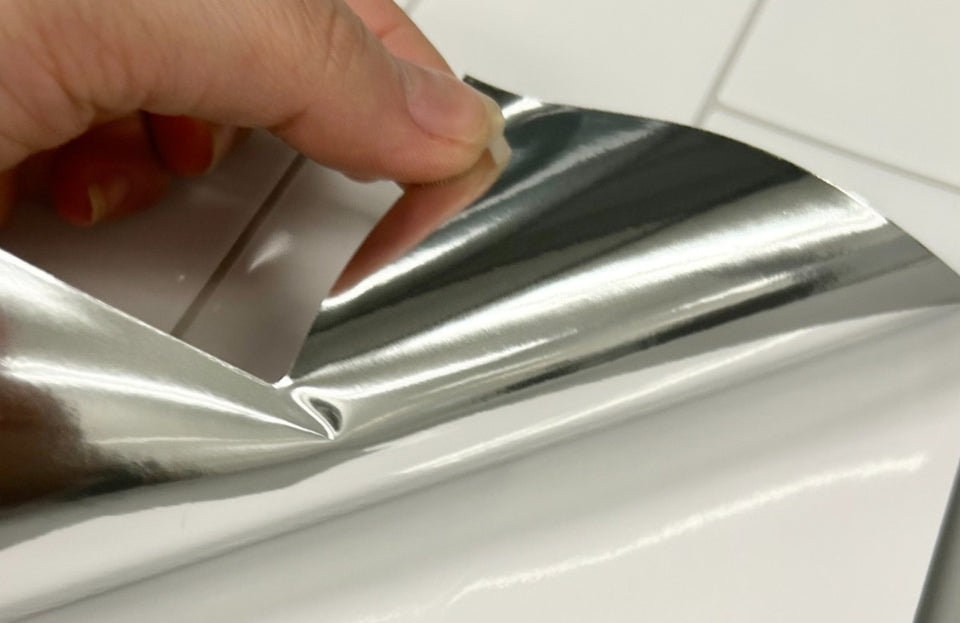
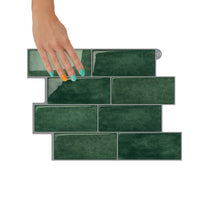
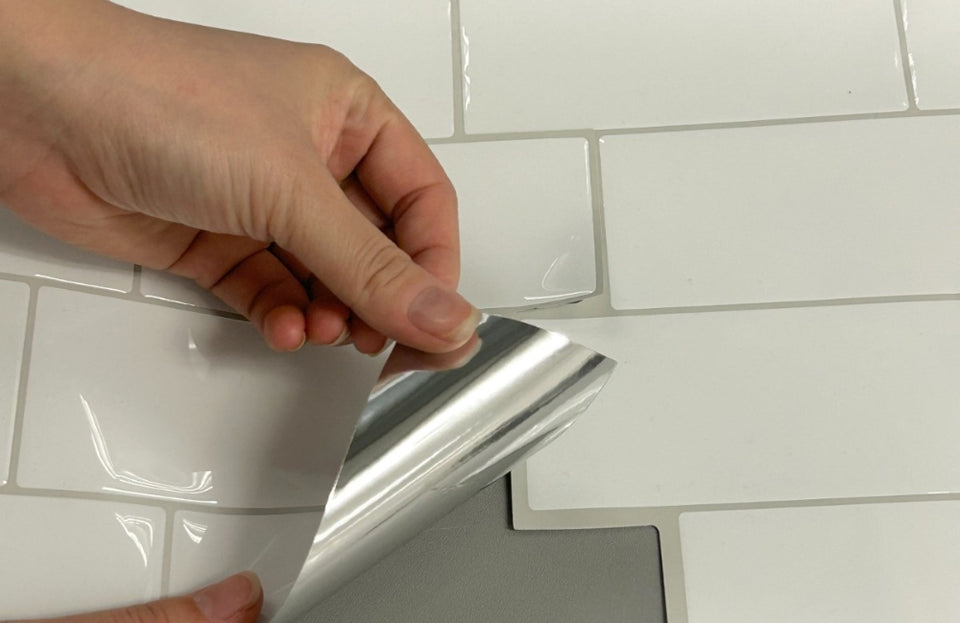
Peel: Remove a small section of the paper backing and align the tile on the wall. Once in place remove the remainder of the backing.
Stick & Overlap: Install the next tile and overlap the entire grout line where the tiles meet. Press firmly to secure the tiles.

For optimal installation see our full FAQs and How to Install guide.